
 h2. Create a new main level folder:
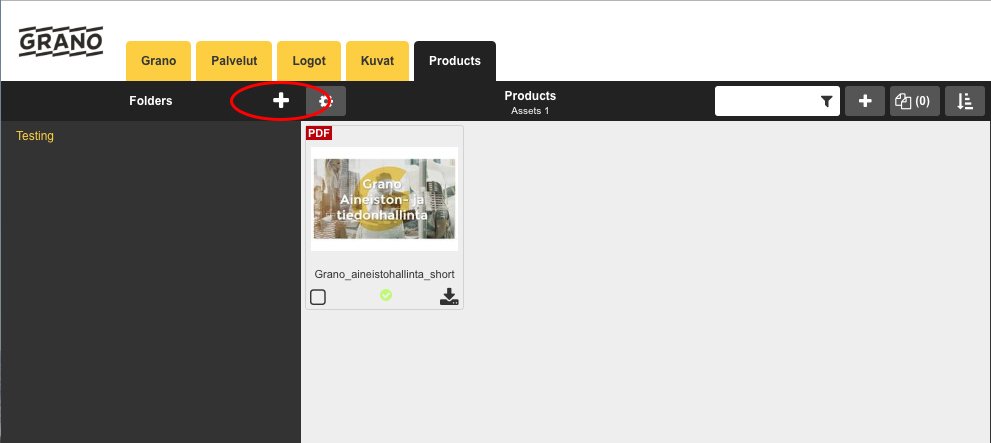
Create a new folder for the main level with the ![]() icon
icon
Give the folder a name, at least, and add the user groups that have the rights to its contents.
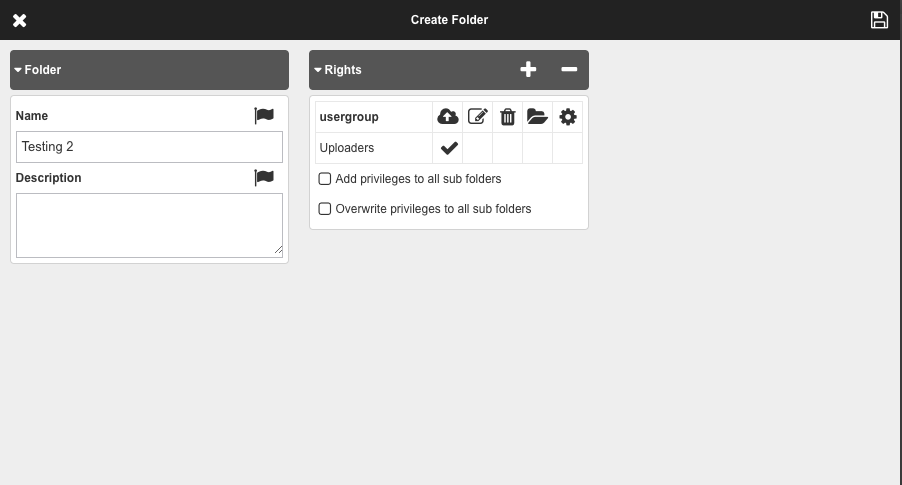
Finally, save the new folder. 
After this, the folder is shown on the main level.
——————————————————————————————
Create a new sub-folder:
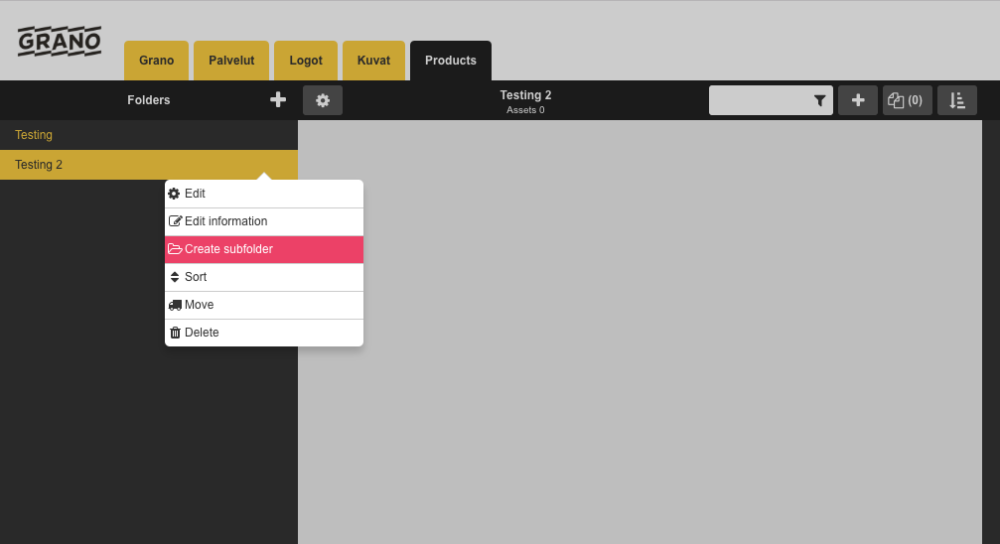
1. Create a new sub-folder
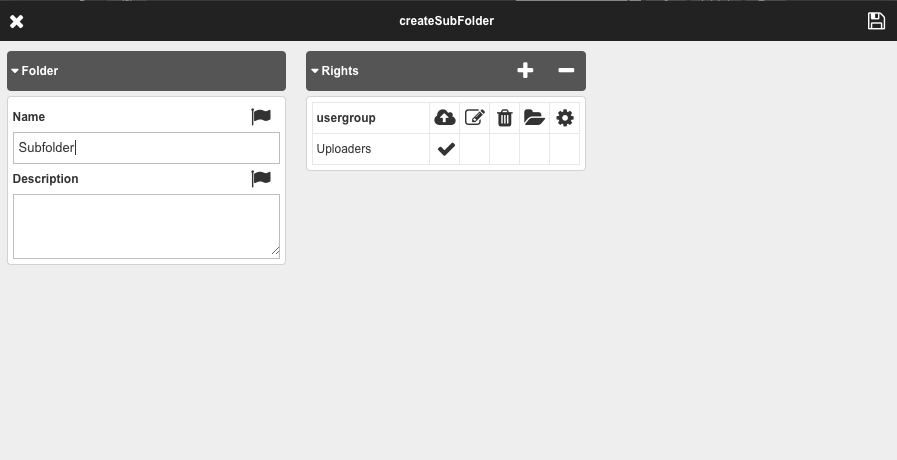
2. Give the folder a name, description and add the user groups
3. Save
——————————————————————————————
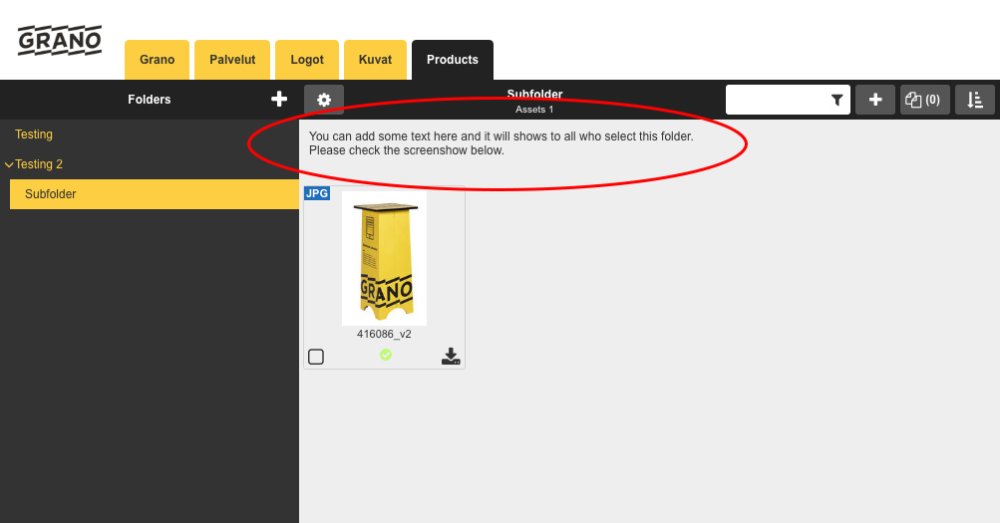
Edit the instructions:
1. Add instructions to the folder
You can add the instructions in different languages by selecting (flag)
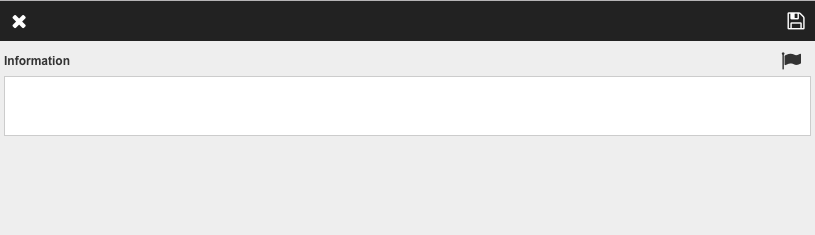
2. Save the changes
After this, the instructions will be shown in the material view.
——————————————————————————————
Move:
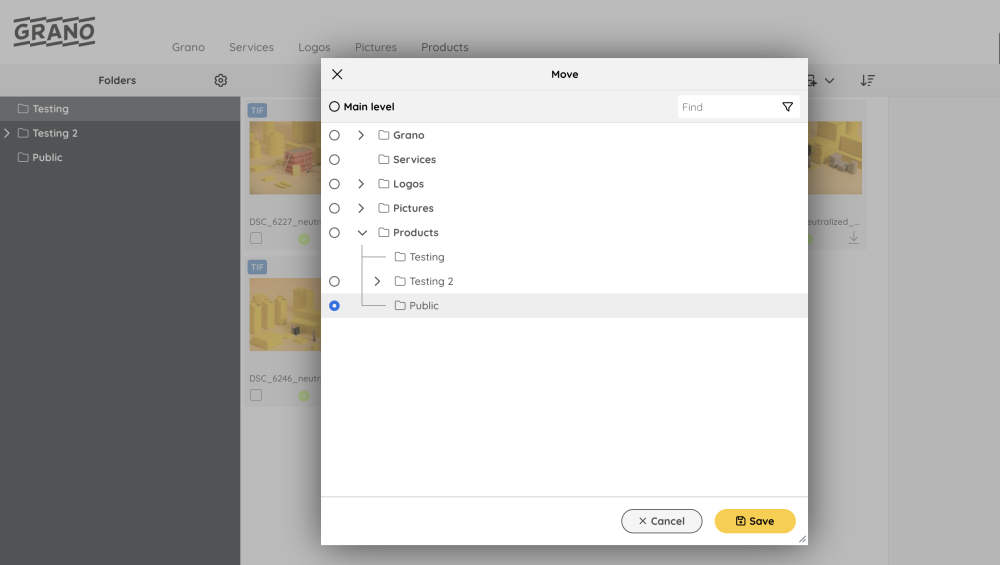
Move the folder by selecting the radio button to the location where you want to move the folder. The folder will be moved when you finally press Save.
In this example, the folder named Testing is moved under the Public folder.
——————————————————————————————
Sort:
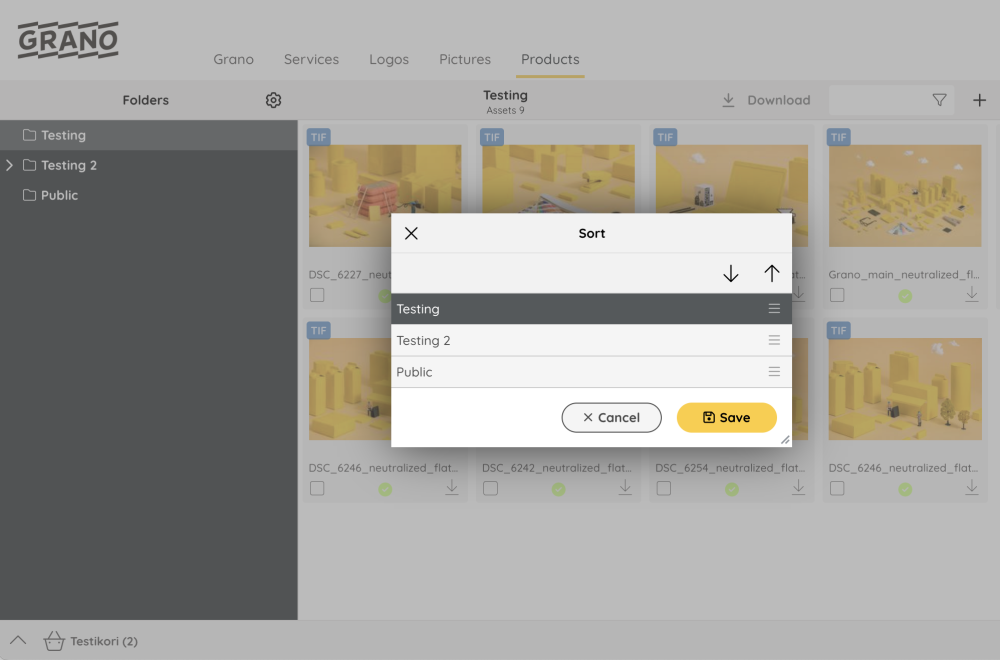
Select the folder to be moved
with the up/down buttons ![]()
![]() , move it to the preferred location and click save.
, move it to the preferred location and click save.
You can also sort folders with drag&drop.
——————————————————————————————
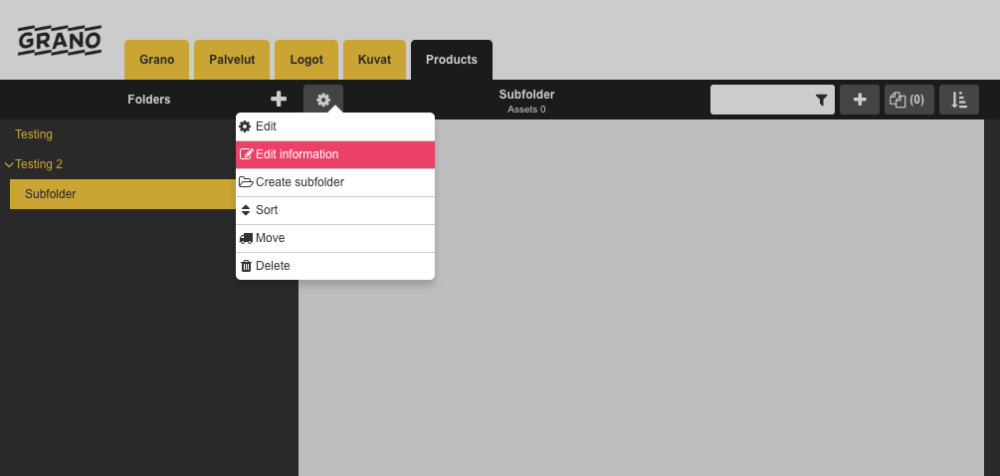
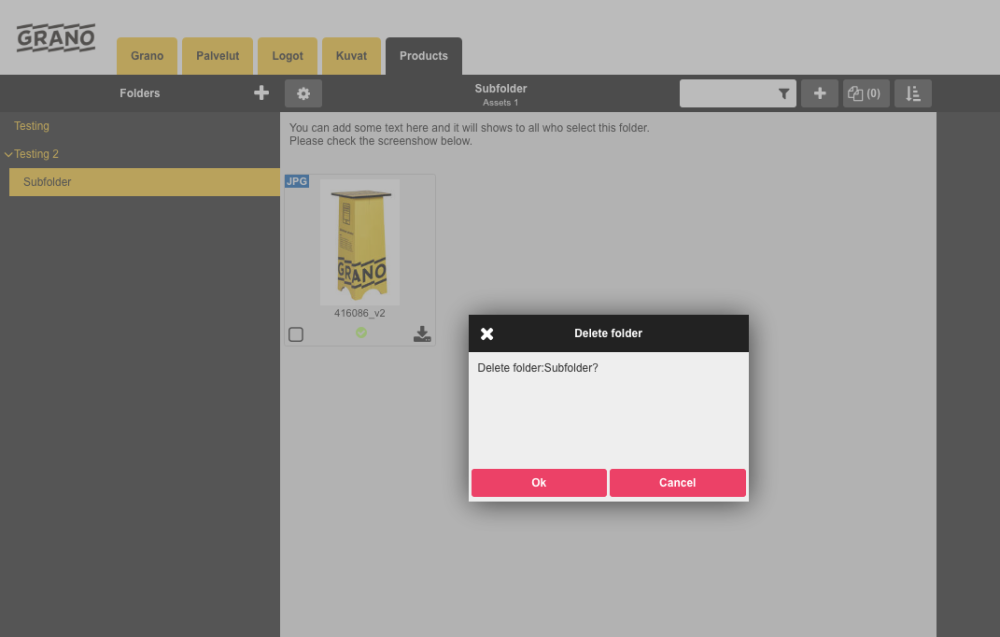
Delete a folder:
1. Delete a folder by clicking it to activate it
2. Select “Delete folder”
3. The system will request a confirmation “Delete a folder: name of the folder?”
Post your comment on this topic.